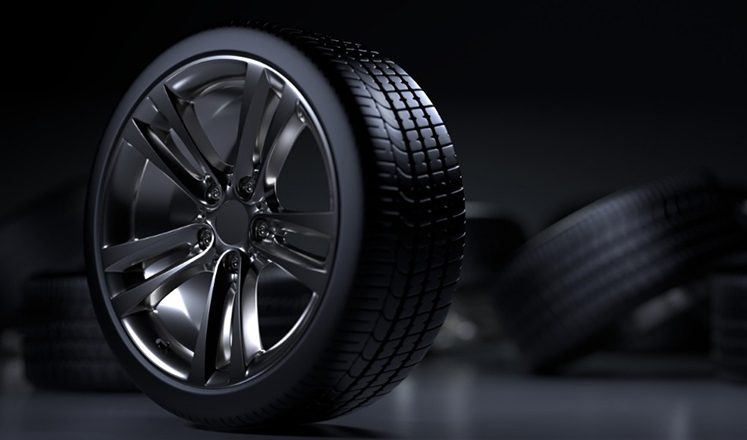
Blacked-out wheels are an excellent way to boost your car’s appearance without breaking the bank. You must not buy new wheels, as the blacked-out effect applies to the ones you already have. The good news is that you can easily apply it to your wheels in only a few steps. In this guide, we detail the processes involved in painting your rims black.
What You’ll Need
Painting your rims black requires series of steps, in which you’ll use different equipment to perform. It’s an easy process that you can handle by following this guide. Here are the items you need when blacking out your rims.
- Impact or Lug wrench, Jack Stands, Jack: These items will make removing your wheels faster and easier.
- Wire brush, Sandblaster, Mineral spirits, Degreaser, Cloth, and Paper towels: Before you start painting your rims, you will need to clean the wheel. You can sand and clean your wheels carefully with these items.
- Grit sandpaper, Masking tape, Paper, and Plastic: Masking is an important step when painting your rims black. These items will help you carry out this step effectively.
- Primer, Paint, and Clean Cloth: These items will come in handy during the painting process. It’s important to consider the type of paint you’re going to use during this process. It’s advisable to go for paint made specifically for rims. Such paints last longer, even in harsh driving conditions. For instance, driving in tough terrains is no good for your wheels.
- Buffer, Polish, and Buffing Compounds: These items are required to help finish the process. It helps to make your painting more durable. Some people consider it an optional step. But it is very important.
How to Paint Rims, Black
Once you have all the items listed above, you’re ready to blackout your rims. Here’s how to do it!
Step 1: Remove Rims from Vehicle
Go to a well-ventilated place and remove all four wheels of your vehicle. When painting, it’s better to take off the wheels to avoid runs, drips, and poor coverage.
Step 2: Clean the Wheels
You need to prepare the wheels properly before you paint them if you want an excellent finish. Spray all surfaces of the wheel with a soap-degreaser mix. Make sure you clean between the spokes and wipe any grime, grease, or dirt from the wheel using a cloth. Rinse the wheels with water and wipe them dry.
Step 3: Remove Paint Chips and Rust
Paint chips and rust can make the finished surface rough if you don’t remove them beforehand. This is where your wire brush comes in. Use it to remove any trace of rust on the wheel. Once done, sand the wheel with 300 grit sandpaper and again with 500 grit sandpaper.
Then use steel wool to smoothen the entire wheel surface. Now, wash the wheel, dry it, wipe with mineral spirits. Check that the surface of the wheel is smooth before proceeding to the next step.
Step 4: Protect from Overspray
You will need to protect the valve stem and tire from overspray. Cover the valve stem and tire completely using painter’s tape and plastic or newspaper. To do this, you must first tape the tire’s edge with painter’s tape. Tape the area under the rim, between the tire and the wheel
Now, place plastic or newspaper over the tire and secure it using painter’s tape. Cover the valve stem with a strip of painter’s tape to avoid clogging the stem. Keep the wheel on a bed of newspapers or drop cloth to protect the area underneath and around the wheel from overspray.
Step 5: Prime
Now, it’s time to prime. A few coats of primer before painting prepares the surface for maximum adhesion. Apply two or three coats of primer. Use self-etching primer for a smooth finish and rust prevention.
After applying the first coat of primer, please wait for it to dry thoroughly before applying the next one. Do this for the second coat too.
Step 6: Paint
Paint the surface of the rim by spraying back and forth. Make sure your pace is even. The label should contain information about the recommended number of coats you should apply and the proper distance to hold the can.
If you place the come too close to the rim while spraying, it will cause the paint to run. Wait for each paint coat to dry before spraying the next one.
Step 7: Apply Top Coat
A top coat will help you finish the process. Spray one or two coats lightly. Wait for each coat to dry before spraying the next one.
Step 8: Remove Overspray Protection and Reinstall
Allow the wheels to dry for a while, if possible, overnight. Then take off the plastic, newspaper, painter’s tape, and everything used to prevent overspray. Now, reinstall the wheels.
Conclusion
Blacking out the rim of your car is a cost-effective way to improve its appearance. It’s also an easy process that you can perform by yourself. With the steps we have listed above, your car rim will look good as new. Don’t forget to go to a well-ventilated place when painting your car rims.

